
A very, very belated Merry Christmas and Happy New Year to you all! Hope you all enjoyed your break!
Apart from the usual Christmas shopping, I once again decided to set myself the task of creating my own Christmas cards and gift tags. This year I wanted to make cards that were easy to put together but as always there was more to it then I expected :/. I also decided to write up instructions for these cards as there was such interest in my two previous Christmas posts (here and here) over the December break. Hope they help you make your own wonderful creations!
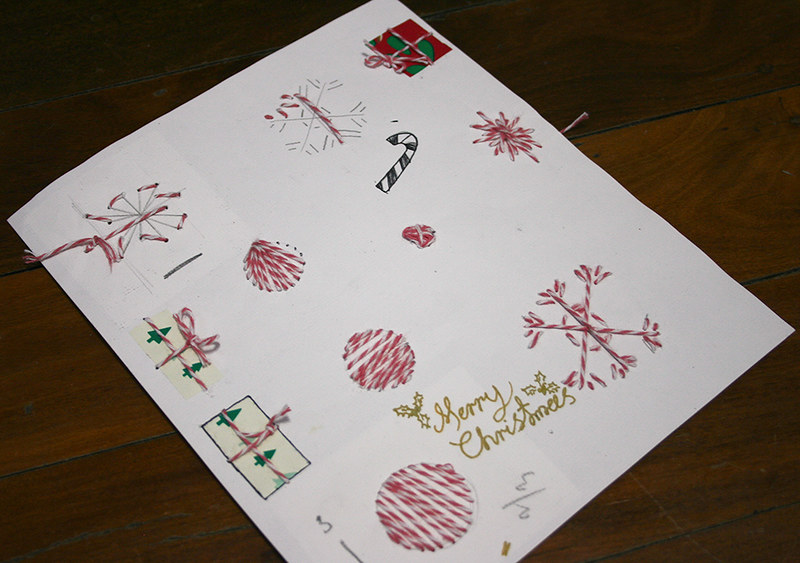
The inspiration for this year’s cards came from leftover twine I’ve been collecting from wrapping gifts. I have a habit of over estimating how much I’ll need and usually end up cutting off the extra. I decided that the cards would use the twine by threading it through to make shapes and patterns.
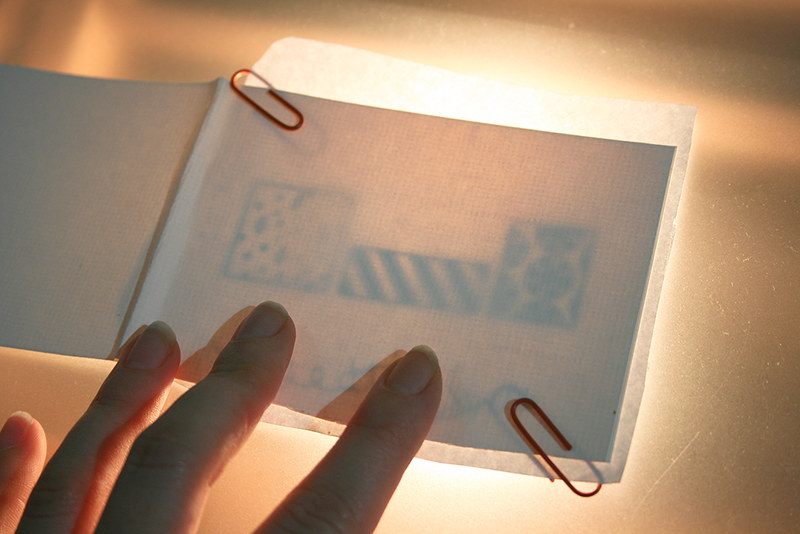
Before I started anything, I did a bunch of prototyping on a piece of test paper. This is very important! One must never forget to test and experiment with the materials (or very similar materials ) that you plan on using. I always figure out a lot from doing this. In this case I learned how to efficiently use my twine, how thick the paper needed to be, how to easily thread twine through the paper and what the final designs would look like.
Christmas Cards
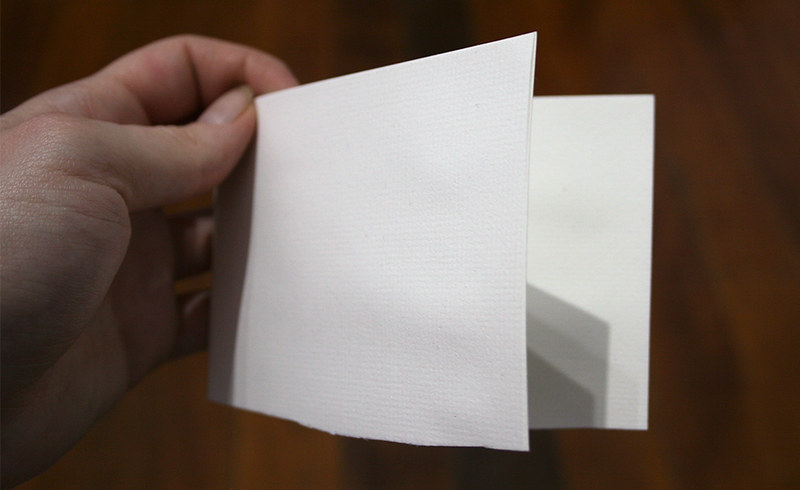
Due to the thinness of my paper, I actually had to stick 3 sheets together so it wouldn’t bend when threading through it. If your paper is thick you may not need to do this but if you do, you need to glue them together with the paper already folded. If you glue it while the paper is flat, it will warp badly when you fold it later on. Once they’re all glued together, put them under something heavy to hold them while they dry. After this, I roughly cut it down so it would be easier to work with.
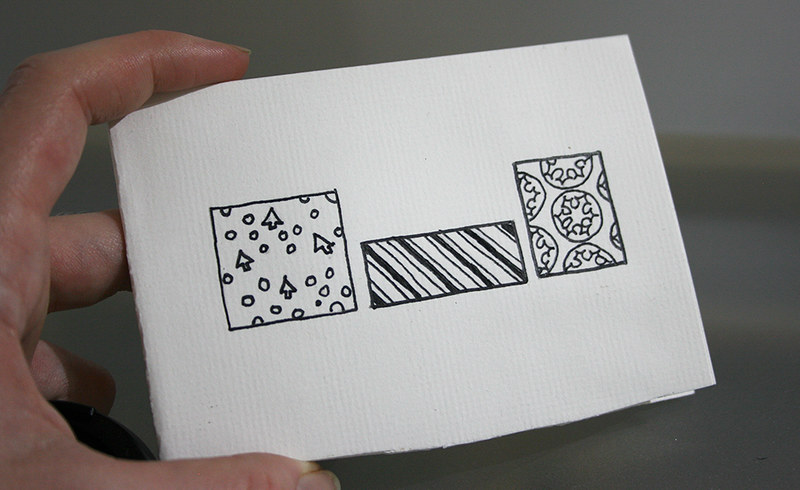
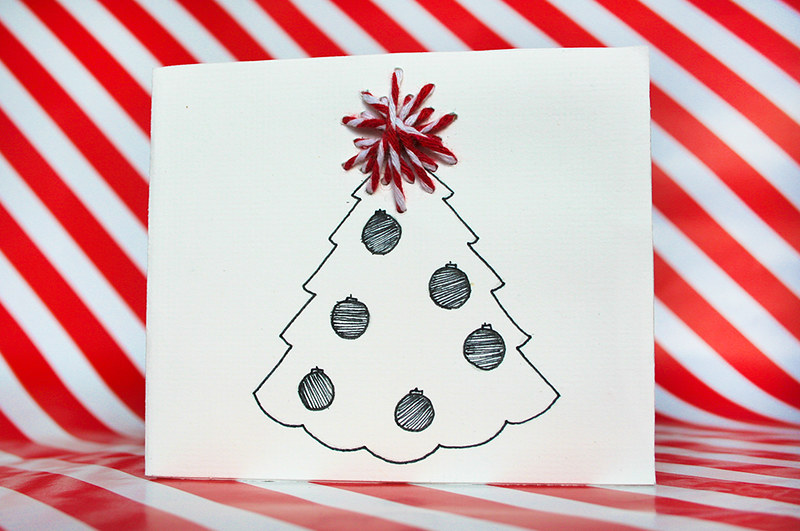
Next step is trace your design onto the card and ink it. Mark out the points where the needle will be threaded through as well if you need to.
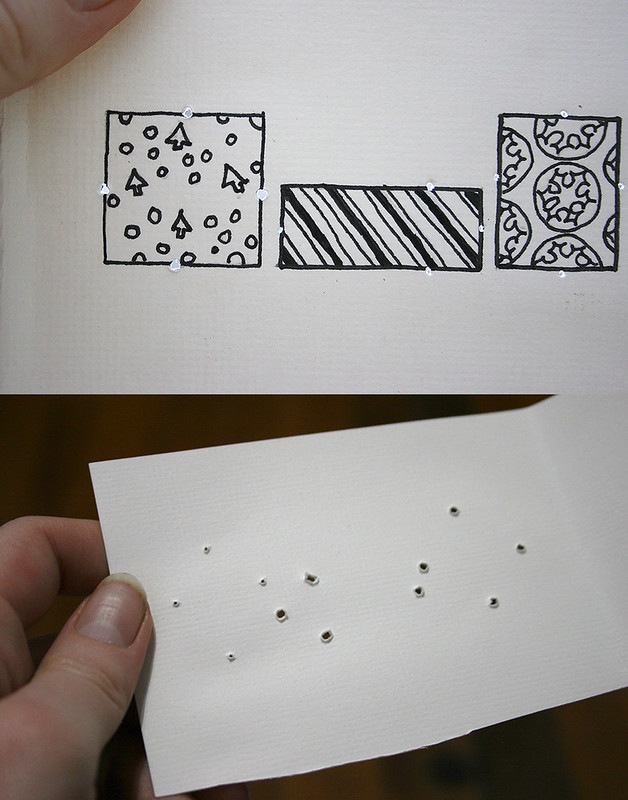
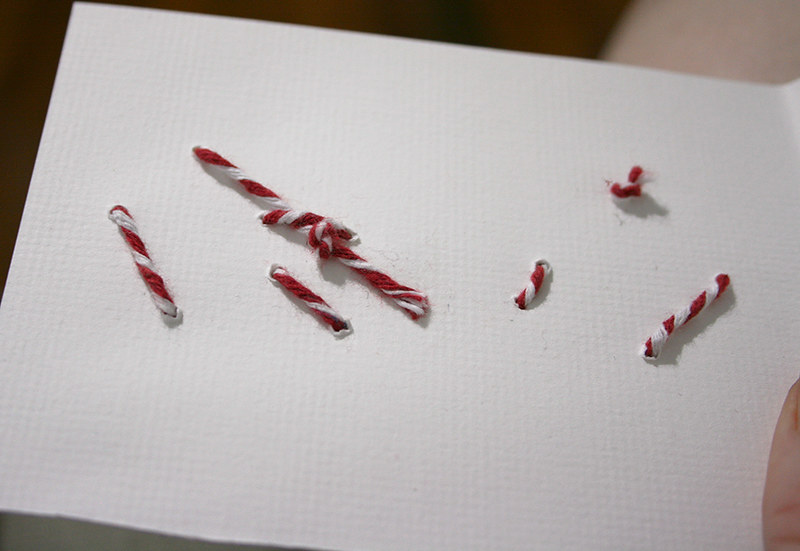
Now the fun of poking the holes in. Lay the card down on something soft and flat (e.g tea towel) and poke in the holes where you’ve marked. I recommend using a large needle (I believe I used a leather sewing needle?) as this will become important later. You want to make sure the holes aren’t too close together otherwise when you pull the thread through it may break and merge into one.
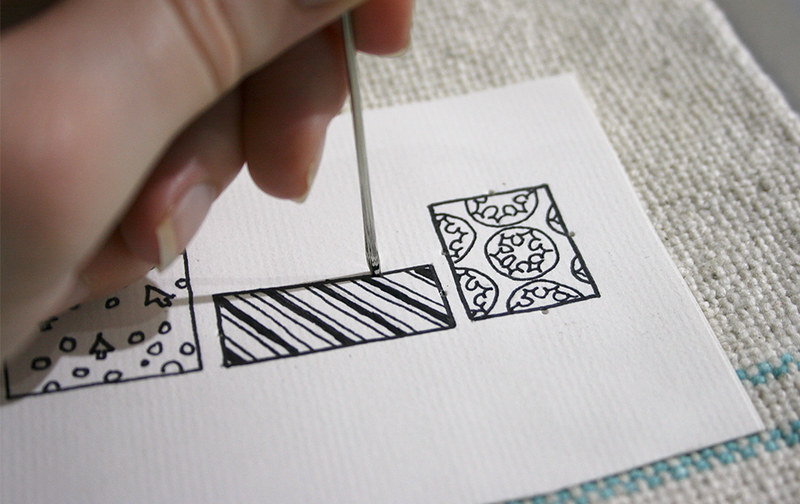
Now that holes are poked in, put the needle through the holes again and make them larger. Twine is a hard material to work with because of its thickness so make it easier for yourself by expanding the card holes. You can see in the picture below the difference in size.
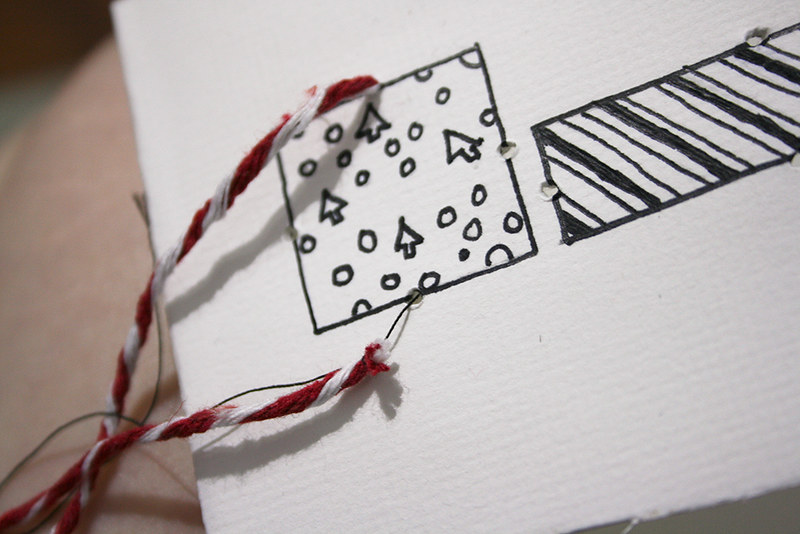
This part is somewhat open to how you want to do it. I couldn’t actually thread my twine it through the needle without it unravelling itself. Instead I tied a string of cotton around the end which I would then by hand thread through the paper. If you can thread yours through your needle then use that method instead.
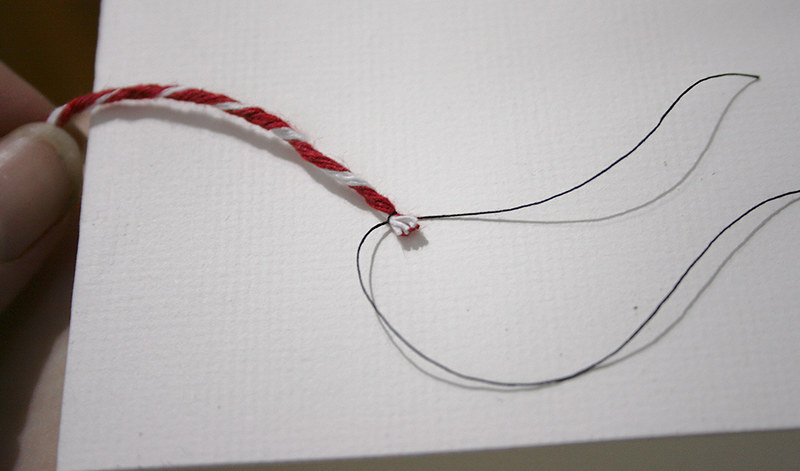
Now its time to start threading! Don’t forget to glue down/tie a knot in the end of the string so it doesn’t pull through as well.When threading through to the back of the card, make sure to keep the string as flat as possible (so try to avoid overlaps) so that when we cover it there isn’t a huge bulge. Don’t be afraid to use a long piece of string too, you don’t want to run out half way through.
Once you’re finished, tie or glue down (I did both) the last bit of string, cutting off any excess.
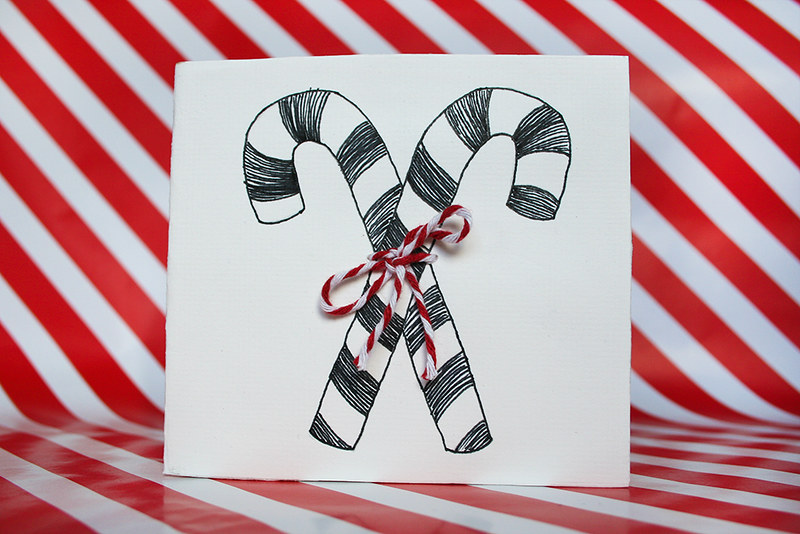
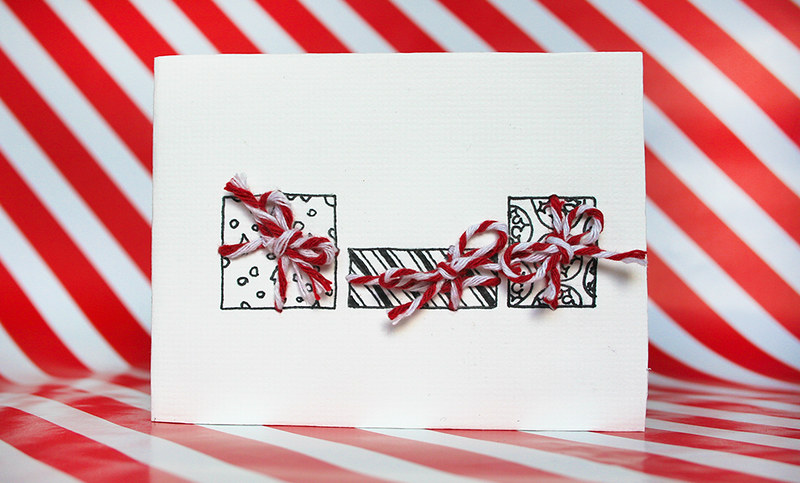
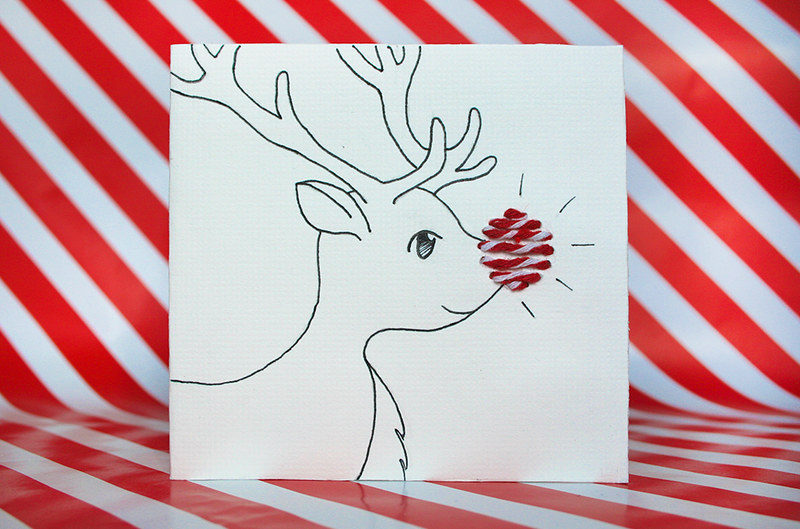
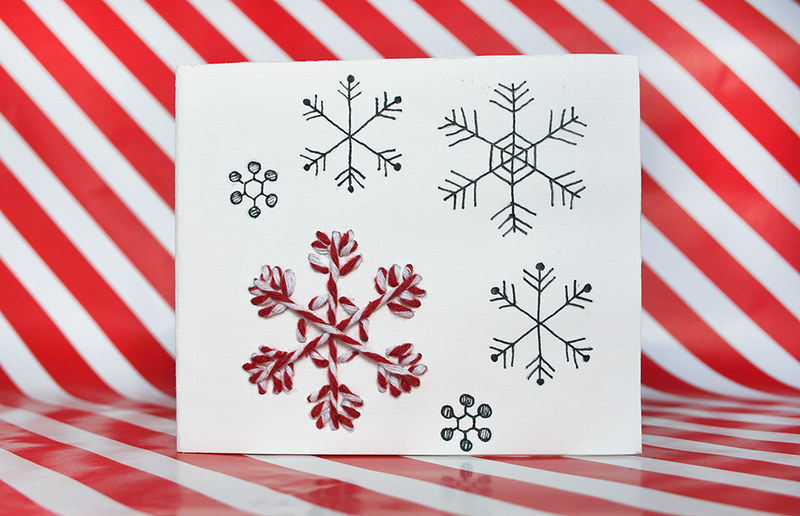
This is what the front looks like, I tied some bows around the thread as well, though these ones were a bit wonky ^^;;.
Next, I stuck the final fourth layer to the inside of the card (make sure it’s folded when you glue it in as before) to cover up the back of your threading. Place the card underneath something heavy again to make it hold until dried.
The last thing to do is to cut off the rough edges and your card is ready to write in!
I used a bunch of different designs for my cards which ranged from simple to annoyingly complex. I was pretty happy that they came out as well as they did!
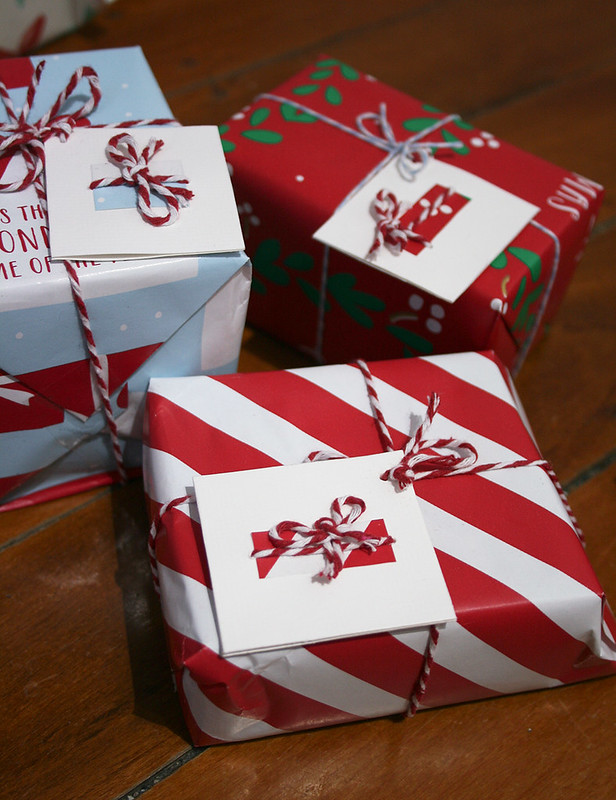
Gift Tags
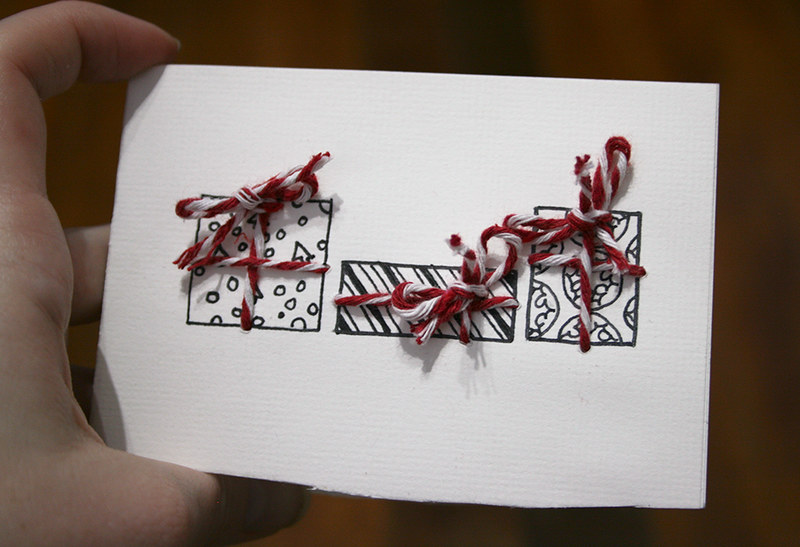
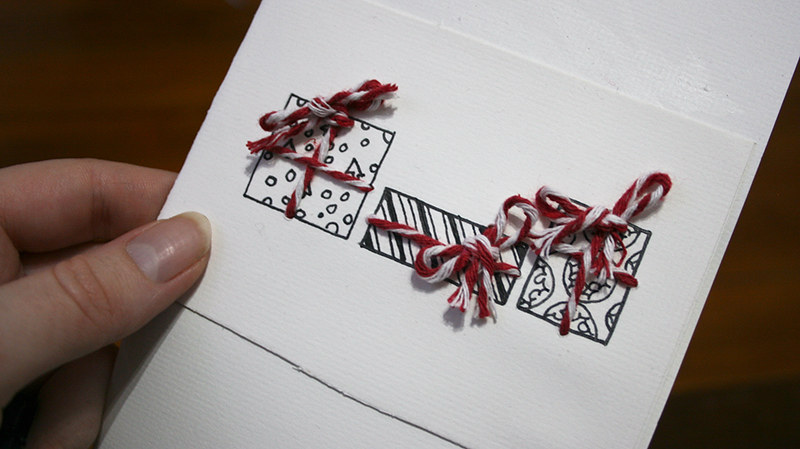
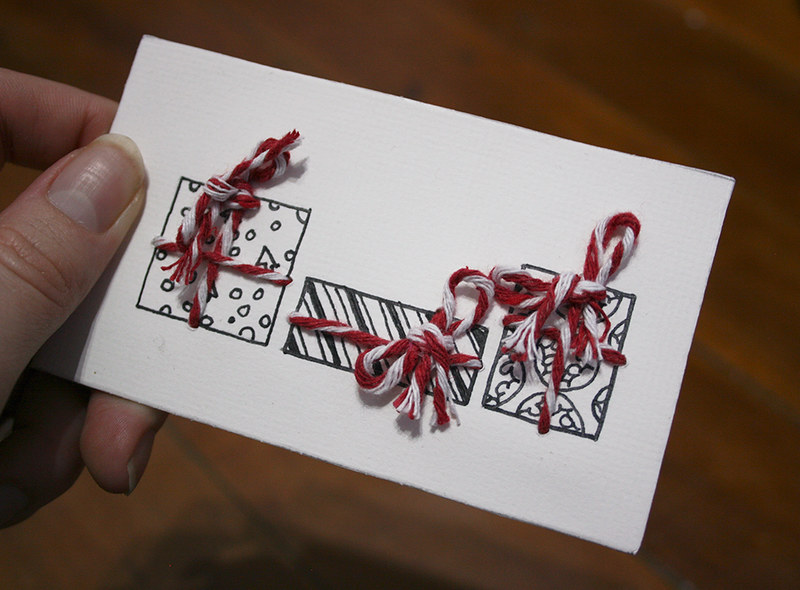
As always I also created my gift tags using the same technique. Because they’re so small, I had issues sticking down the backs because the knots I tied stuck out too much (my bad :/) and there wasn’t much for the paper to stick to. If I did it again I would make them bigger and would glue the ends down instead.
I also used the wrapping paper in the design again to make them match the presents ^_^.


Hope my instructions help you make your own cards! Now to start thinking of ideas for next Christmas ^_^.