I believe this is my 8th year (!!!) of making Christmas cards and if these years have taught me anything, it’s that preparation and experimentation are key for ensuring everything will come to fruition. I’m glad I started prepping for these cards early on as there were quite a few missteps along the way.
After last years work, I wanted to go back to something more simple. For some reason I thought linocut printed cards would be an easy idea, I could just roll out as many as I wanted once the lino block was carved. Getting to that final day of printing would turn out to be another matter.
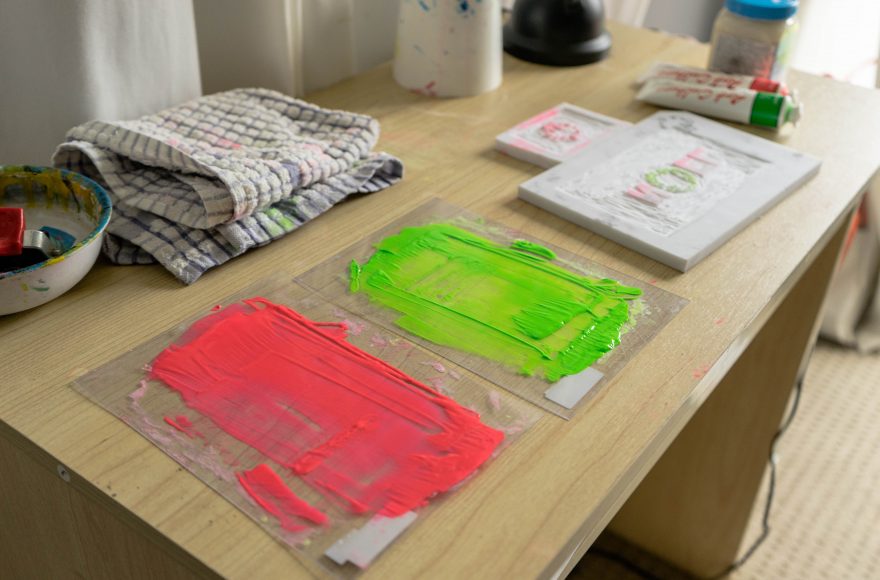
I started making plans back in November with the intention of creating two different designs that could easily be simplified for use in making accompanying gift tags. I also wanted to only use two colours, however as a twist I wanted to move away from traditional Christmas options and go with FLURO colours, specifically pink and green.
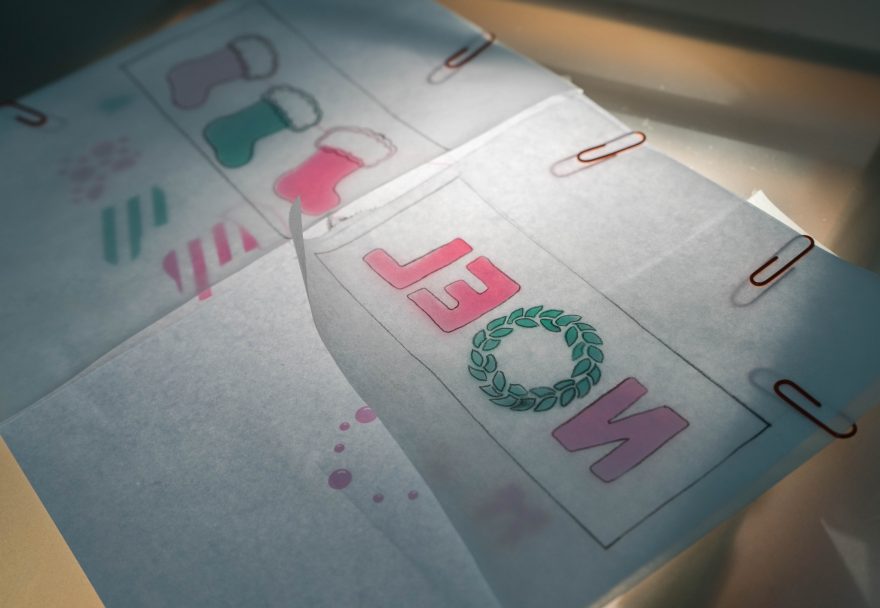
The two designs I chose to move forward with were are a typed based ‘NOEL’ with a wreath and some patterned Christmas stockings. I mocked these up digitally before printing them out to get ready to trace.
With the designs ready to go, I headed out to buy what I thought I needed based off very loose memories of creating linocut prints in high school. This was my first and probably biggest mistake – not brushing up my knowledge on the medium and process.
Excited to get started, I used a small section of the design to do some tests which revealed my blunder. Firstly – the traditional lino block material (with the mesh on the back) proved harder to carve then I was expecting and I found it difficult to get nice clean cut lines at small sizes. It probably didn’t help that I was using the larger lino cutting blade either.
Secondly – the acrylic paints I picked up didn’t really hold onto the lino, making it hard to get a solid coating and resulting in very lack luster transfer to paper. It turns out printing ink is the preferred material.
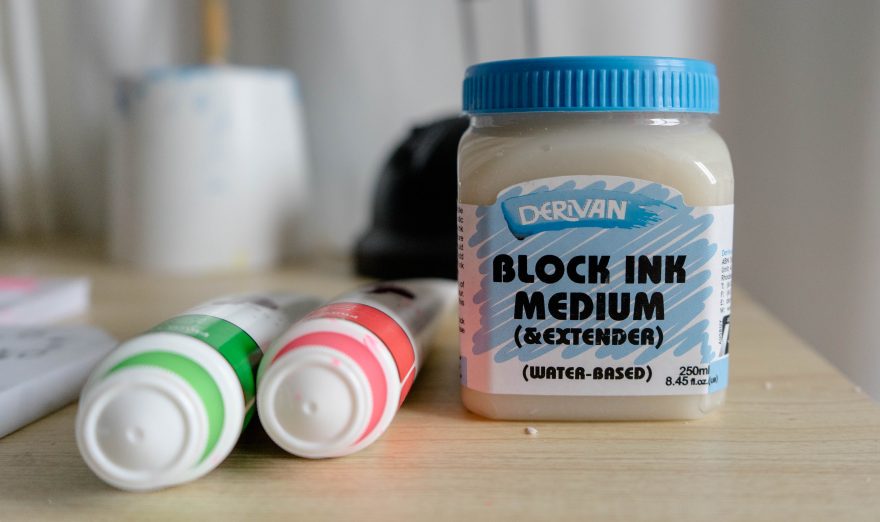
Doing some reading online I learned about easy cut lino, a softer material that appeared much more suited to the needs of my designs and my beginner skill level. My second problem with the paints could also potentially be solved. I really didn’t want to buy anymore extra paint and I imagine printing ink can’t really be bought in small quantities. This is where I learned about mediums that can be added to paint to change their properties and there just happened to be a type for block prints. So I was back at the art supply store to buy more materials that would hopefully produce a better result (if any of my friends want some traditional lino, hit me up).
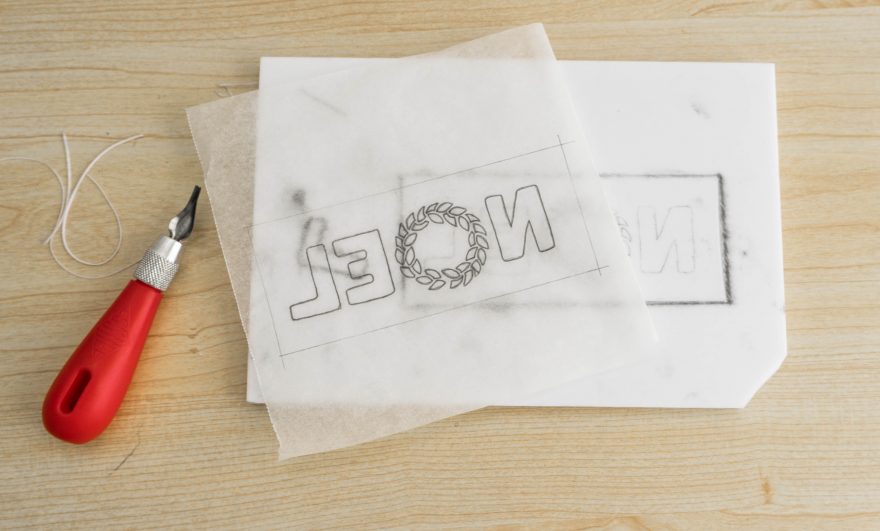
Starting over again, I used my tracing from before (note that this needs to be drawn in reverse for the print to be the right way up) to transfer the design onto the lino. I found even the slightest touch would easily transfer onto the white while also finding that once marked it could NOT be removed. I made sure to be very careful as to not bump or shift the tracing paper while transferring the pattern. It should be noted that by this point I had decided to go with the single design, as the deadline of Christmas was slowly looming.
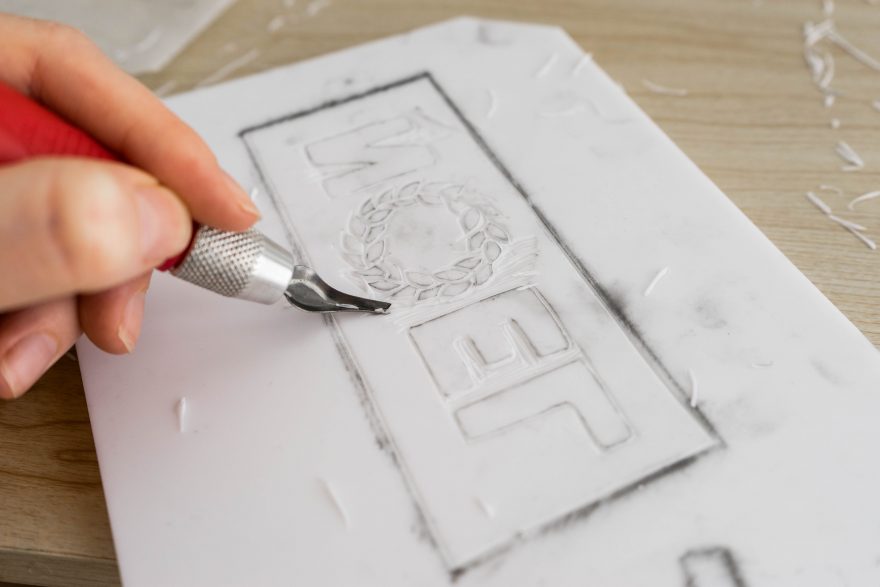
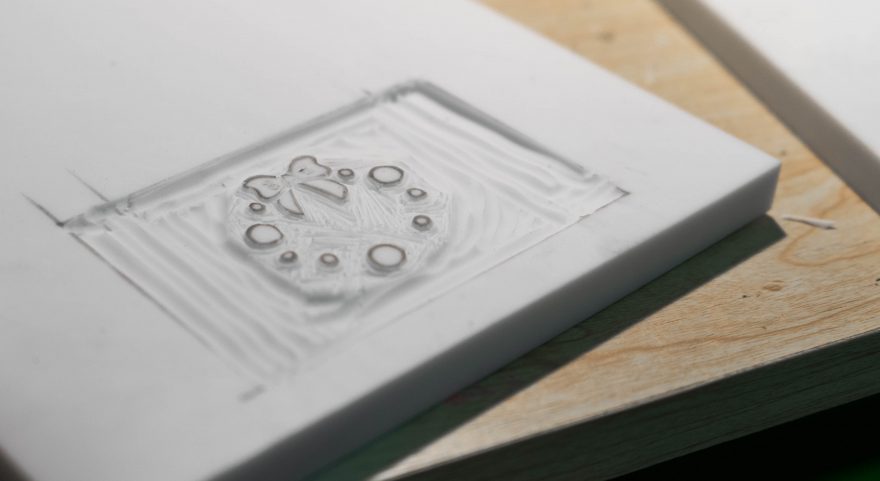
The new easy cut lino was exactly as the name suggested, the blades cutting through with only the slightest pressure, making it easy to carve out small rounded corners and tight details, especially in the wreath of the O. I made a second smaller block print for the baubles that would be pressed on top of the original.
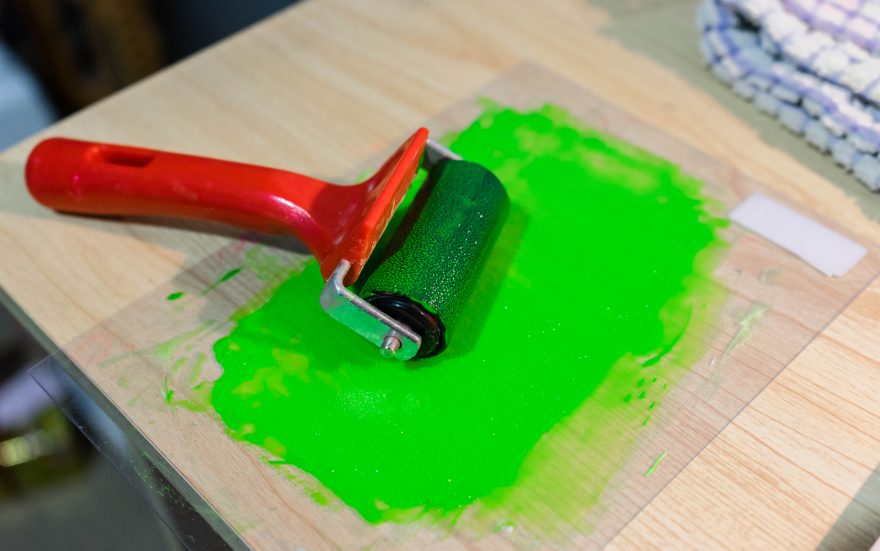
Once the lino block were carved out, I was ready to do a second set of print tests, this time with the block print medium mixed with the acrylics. At a 1:1 ratio, I’d use my roller to spread and combine the two together. I found through multiple trial and errors that it was best to leave the paint to sit for 10 minutes after mixing, this seemed to allow it to become more tacky. You know when the paint is ready to go when it makes a particular ‘grippy’ sound when brushing the roller back and forth (seen in the video above at 2:27).
Placing the paint onto the the block was a little tedious, carefully rolling on the green for the wreath and then the pink on the letters while trying to not accidentally overlap the other sometimes proved difficult and would have to be wiped and reapplied. Once the paint was on the block, I’d very carefully place the card over the top as central as I could. With the card laying flat on the lino block, I used a small flat bit of lino of a previous kit to press the paper into the block, before lifting it off and leaving it to dry. Once completely dried, I would do the same thing again with the smaller bauble linocut block (a little more tricky to line up with the first print but I usually got pretty close).
I discovered that on the first two or three tries the paint didn’t adhere to the paper, seemingly being unable to grip it. Once you’d done a few coats though, the paint slowly thickens on the block and transfers become much easier. I also came to realise that overlapping the baubles linocut over the first one would mean the underlying green showed though. I was left with the predicament of removing sections on the larger block where the baubles would appear. I decided to re-carve the whole larger print on the other side of my lino (which seems like a big deal but thankfully it was a relatively fast process) just in case it didn’t turn out and I could fall back on the original.
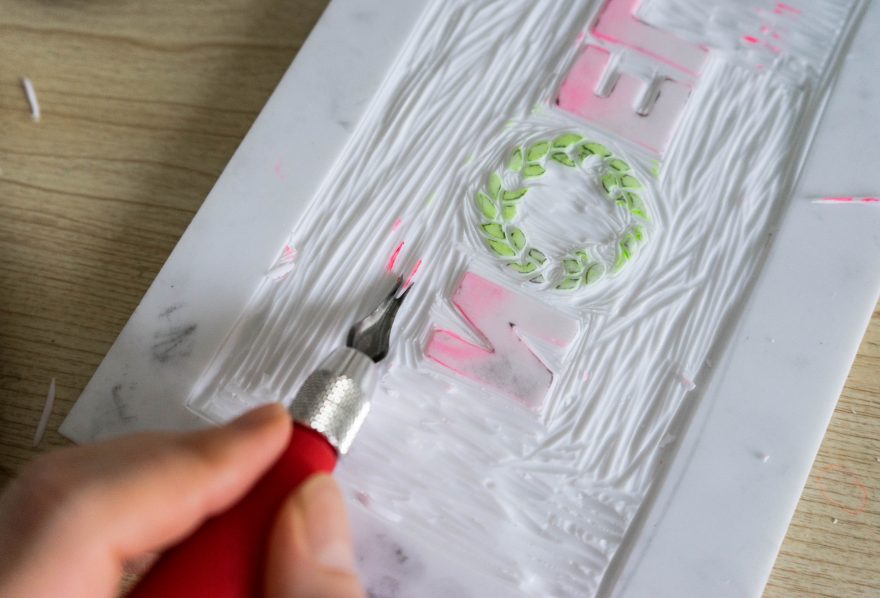
Thankfully after some more test prints (yes I did a lot of tests!) the design was appearing much more cleaner with the sections of the wreath removed.
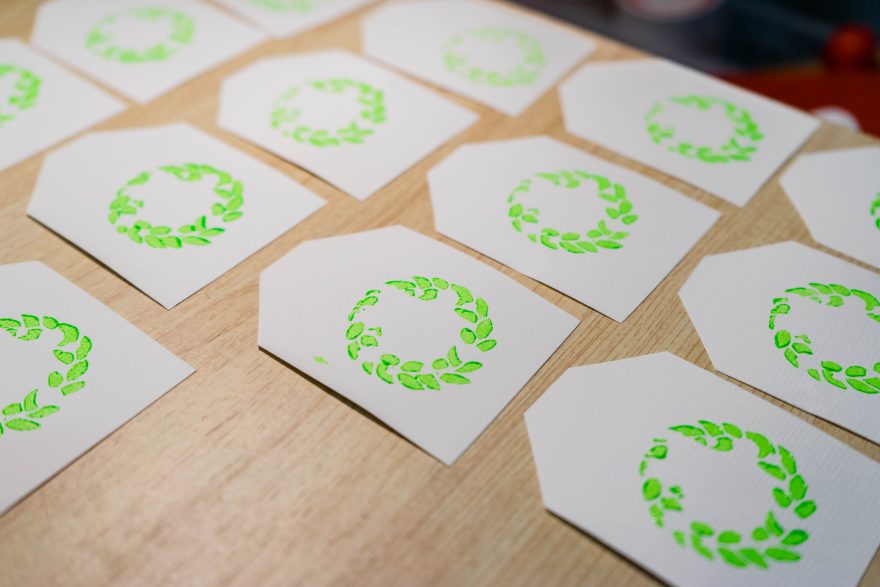
From there, I was ready to go. I set aside a day and become a one woman production line, pumping out those prints. I also created my gift tags that day, just using the wreath section of the larger block.

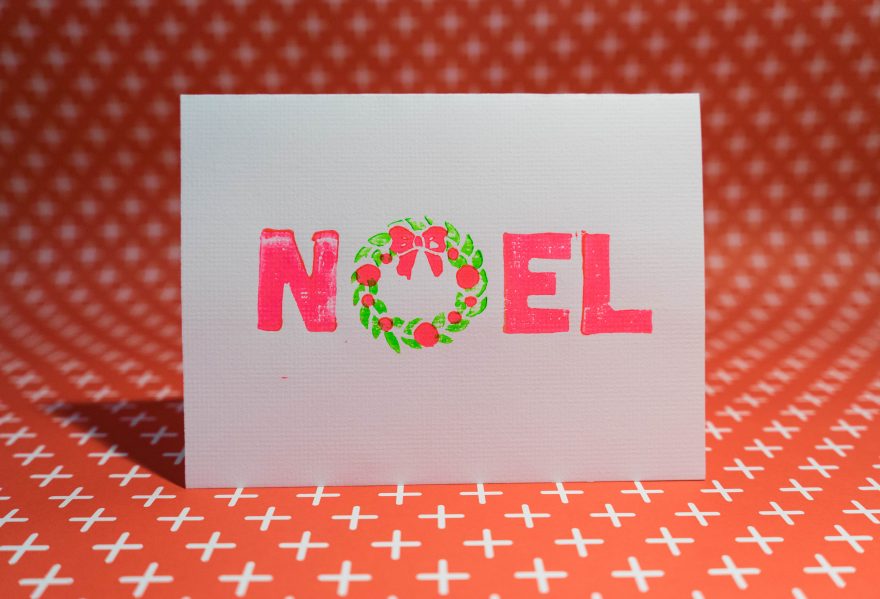
I’m glad the result turned out as well as it did considering how this process started off. The pictures also don’t do justice to how bright the green and pink fluro colours turned out which I was happy to see meet my expectations. Lino block printing is really fun once you have everything in order. Just make sure you don’t make my mistakes, do a bit of research and get the right materials first time around!