Since finishing last year’s Christmas cards, I’ve been wanting to build upon my skills with using proper watercolours. I knew I wanted to use them again though this time with a better understanding of how to work with the medium. As preparation, I watched tutorial videos and experimented, undertaking Inktober to force myself to create. After completing this challenge I felt much more ready to try my hand at another handmade watercolour card.
For the design, I wanted to attempt a Christmas symbol that I hadn’t tried before aka not another Christmas tree. 2020 was the year I really got into and inspired by online illustrators, including Amanda Herzman who does lots of floral based work. This gave me the idea to create a poinsettia flower design, which is also known as the ‘Christmas flower’.
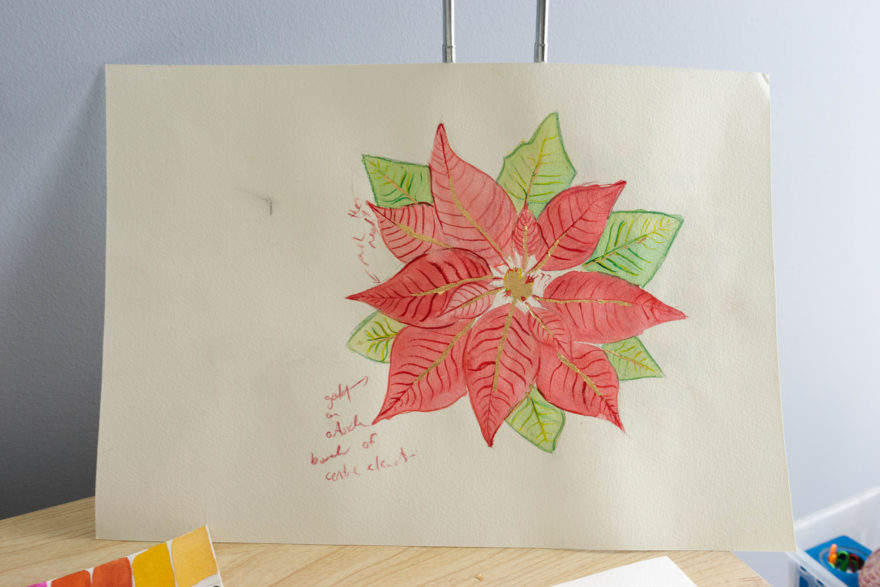
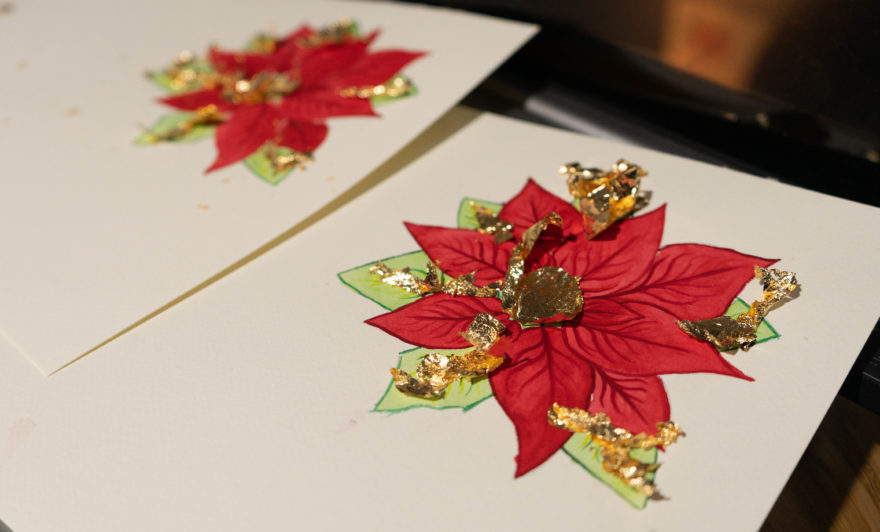
I first needed to create the template design that would be easy to replicate. Poinsettias have this very even but also asymmetrical look to them that I wanted to make sure was captured. The image I ended up using was created at a larger size than the final card, allowing me to try out how the details would look. At this stage I also played around with gold leaf once again, though in the final cards I decided to just incorporate it into the outer leaves. When I was happy with it, I scanned the design in and shrunk it to a more card appropriate size.
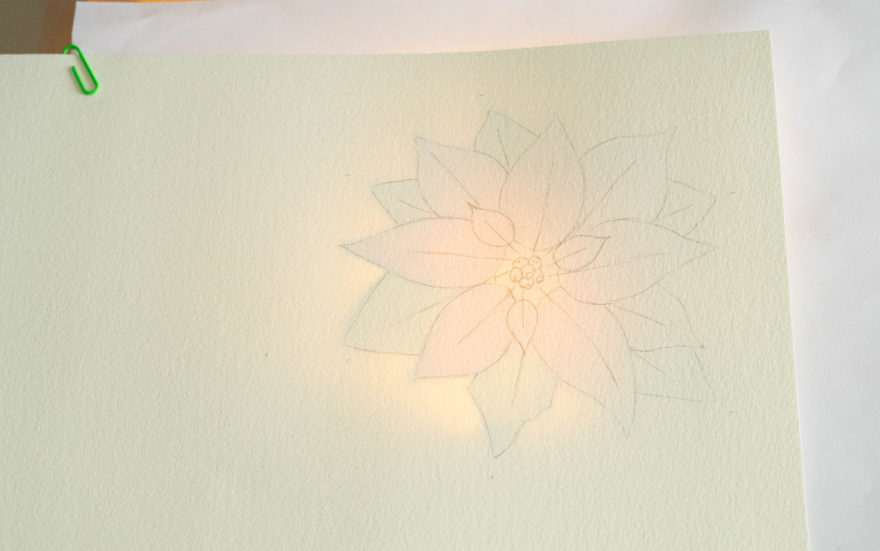
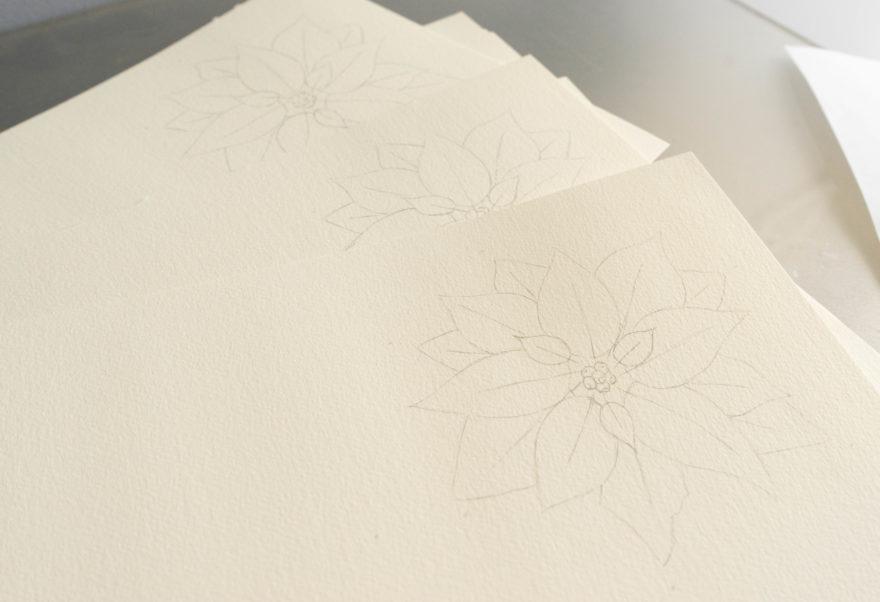
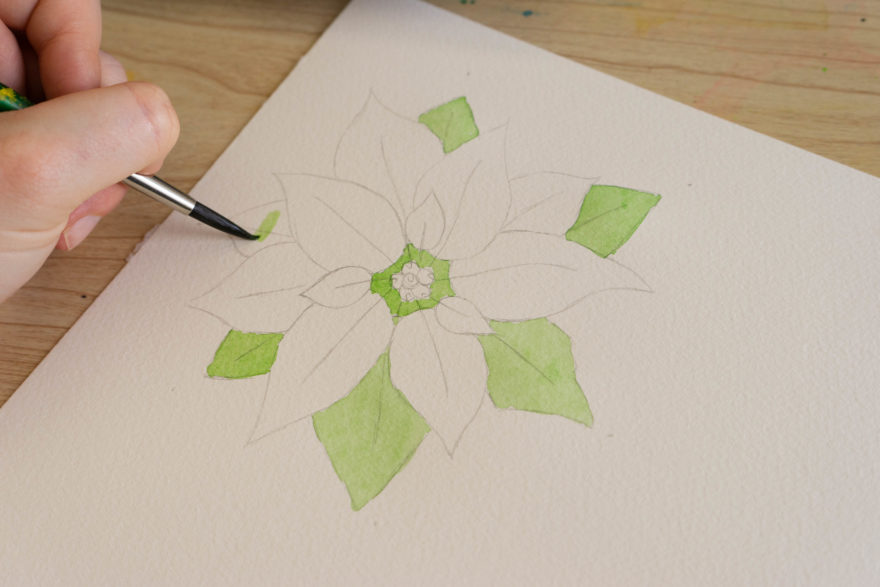
After this was finalised, I could start tracing the basic outlines. Since the outer green leaves and red petals were so similar in shape, I had to make sure I marked them so I wouldn’t mix them up in the painting phase. You can barely make it out but there are small dots marked out near the green leaves.
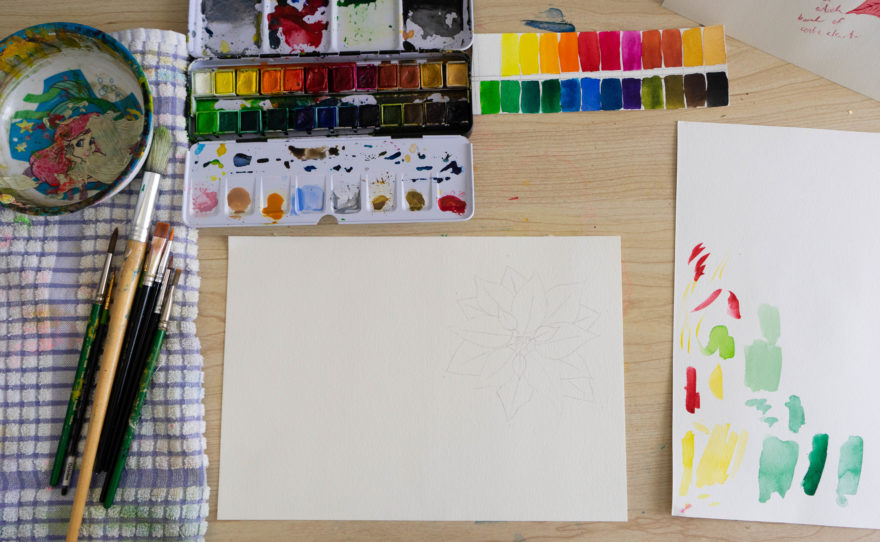
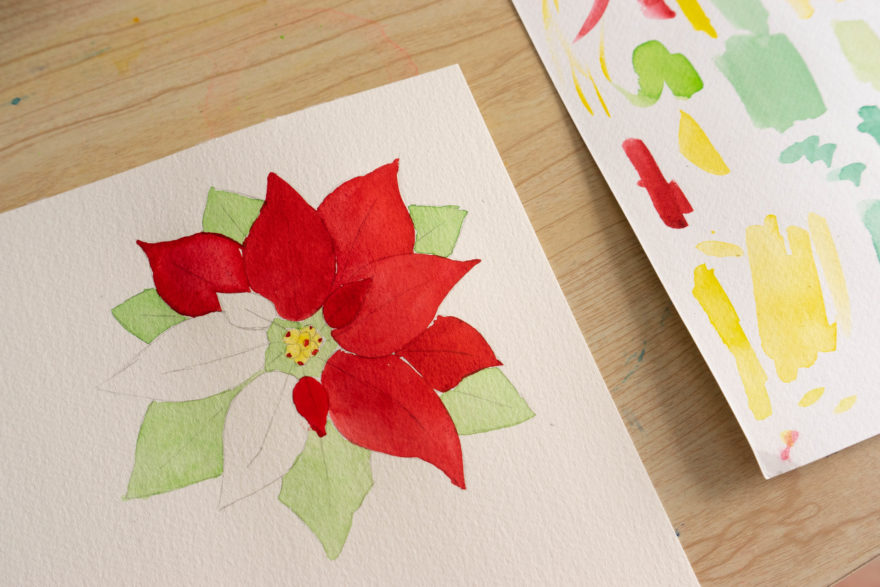
With the tracing done it was time to move into watercolour. I alternated between the green and red hues to allow the layers to dry while another was painted. It also allowed me to change the water, ensuring there wouldn’t be any cross-contamination of pigments.
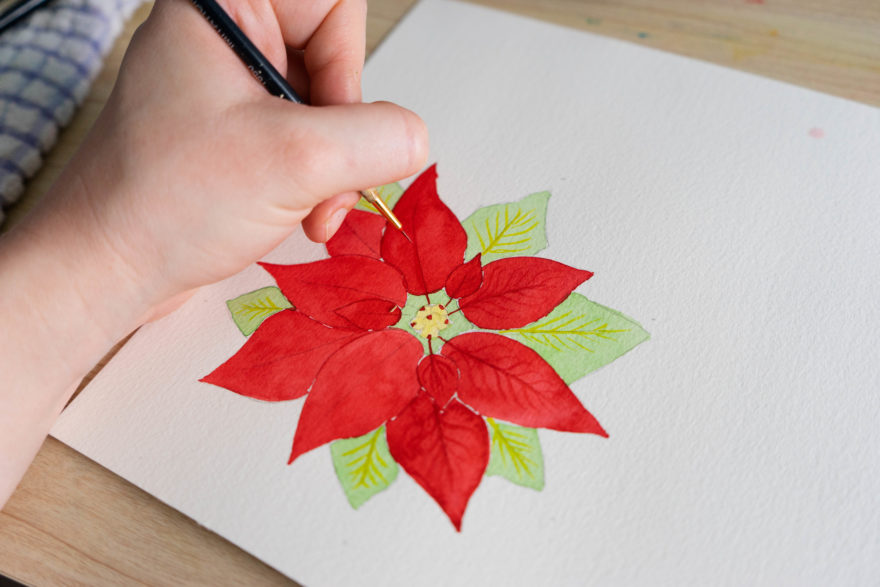
Once the main blocks of colour were dried, I started adding in the finer details. I approached this with two layers of colour per leaf/petal. The first layer would be a similar or lighter shade of the background colours, serving as guides for the second application. Once these were dry, I would use a darker shade and go over these guides while letting the colour slowly wash out of the brush, giving a nice fade into the lighter guides. I found this added a bit more dimension, especially on the red petals. The darker shades were also applied as an outline to cover up some of the gaps in between each leaf, giving a cleaner finish.
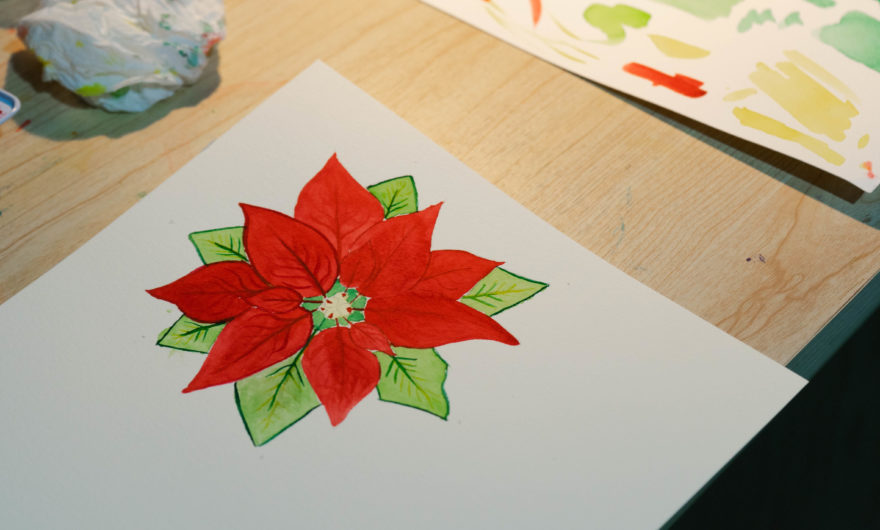
The final step before cutting them out was applying the gold leaf. I’ve covered how I use gold leaf before but I will say as always that it’s such an accessible and fun medium to work with.

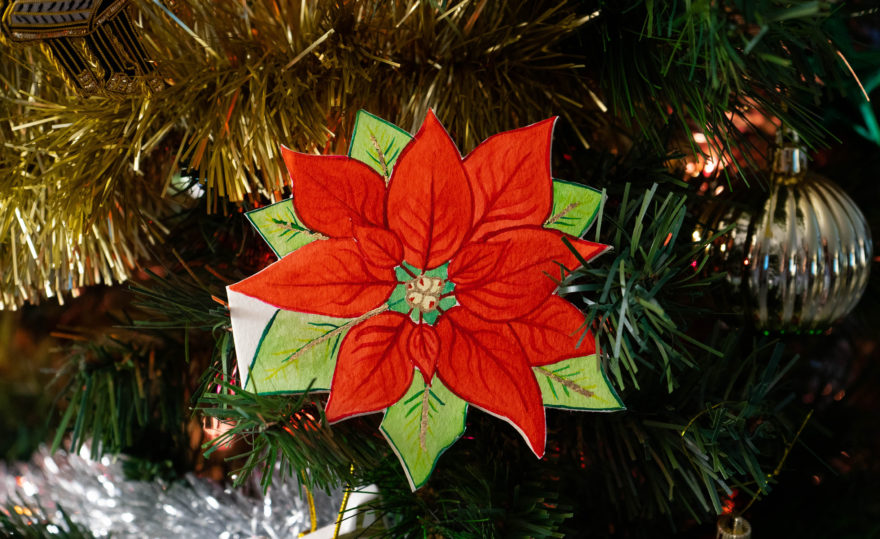
This is the 10th Christmas card I’ve made in a row and it’s hard to believe I’ve been making these for a decade now. I’m really happy with how this card turned out and that I didn’t fall back to making another tree card.
I’ve decided that this will be the last card I make for a little while. Christmas is always a stressful period for me and formulating the idea and executing these always adds an extra pressure. That’s not to say I won’t make anything entirely (maybe something digitally created?) but I do want to give myself a break. I’m glad I was able to finish up these 10 years of cards with something I was really happy with.